

From the first conversation
to your finished extension.
You might have plans, or just a few ideas. We’ll talk through what you want to change, then work out the next steps together.
Before we build
A few conversations to get the right work underway.
-
Start with a conversation
Tell me what isn’t working at home and what you’d like your extension to do.
-
Share your plans or ideas
If you have drawings, we’ll look through them. If you’re at the ideas stage, we can talk through where to start.
-
Look at the house
We’ll look at the existing home, access and the practical details that may affect the build.
-
Work through the details
I’ll bring practical building input and work through the details with your designer or engineer where needed.
-
Review the scope and quote
We’ll go through what’s included, the finishes you have in mind and anything still to be decided.
-
Agree on the work
Before we start, we’ll review the agreed scope and building contract, then confirm the arrangements for the job.
See an extension take shape
These Ashbury photos follow the work from site preparation to the finished extension. The details will vary with your home and the agreed work.
-
Build stage 01
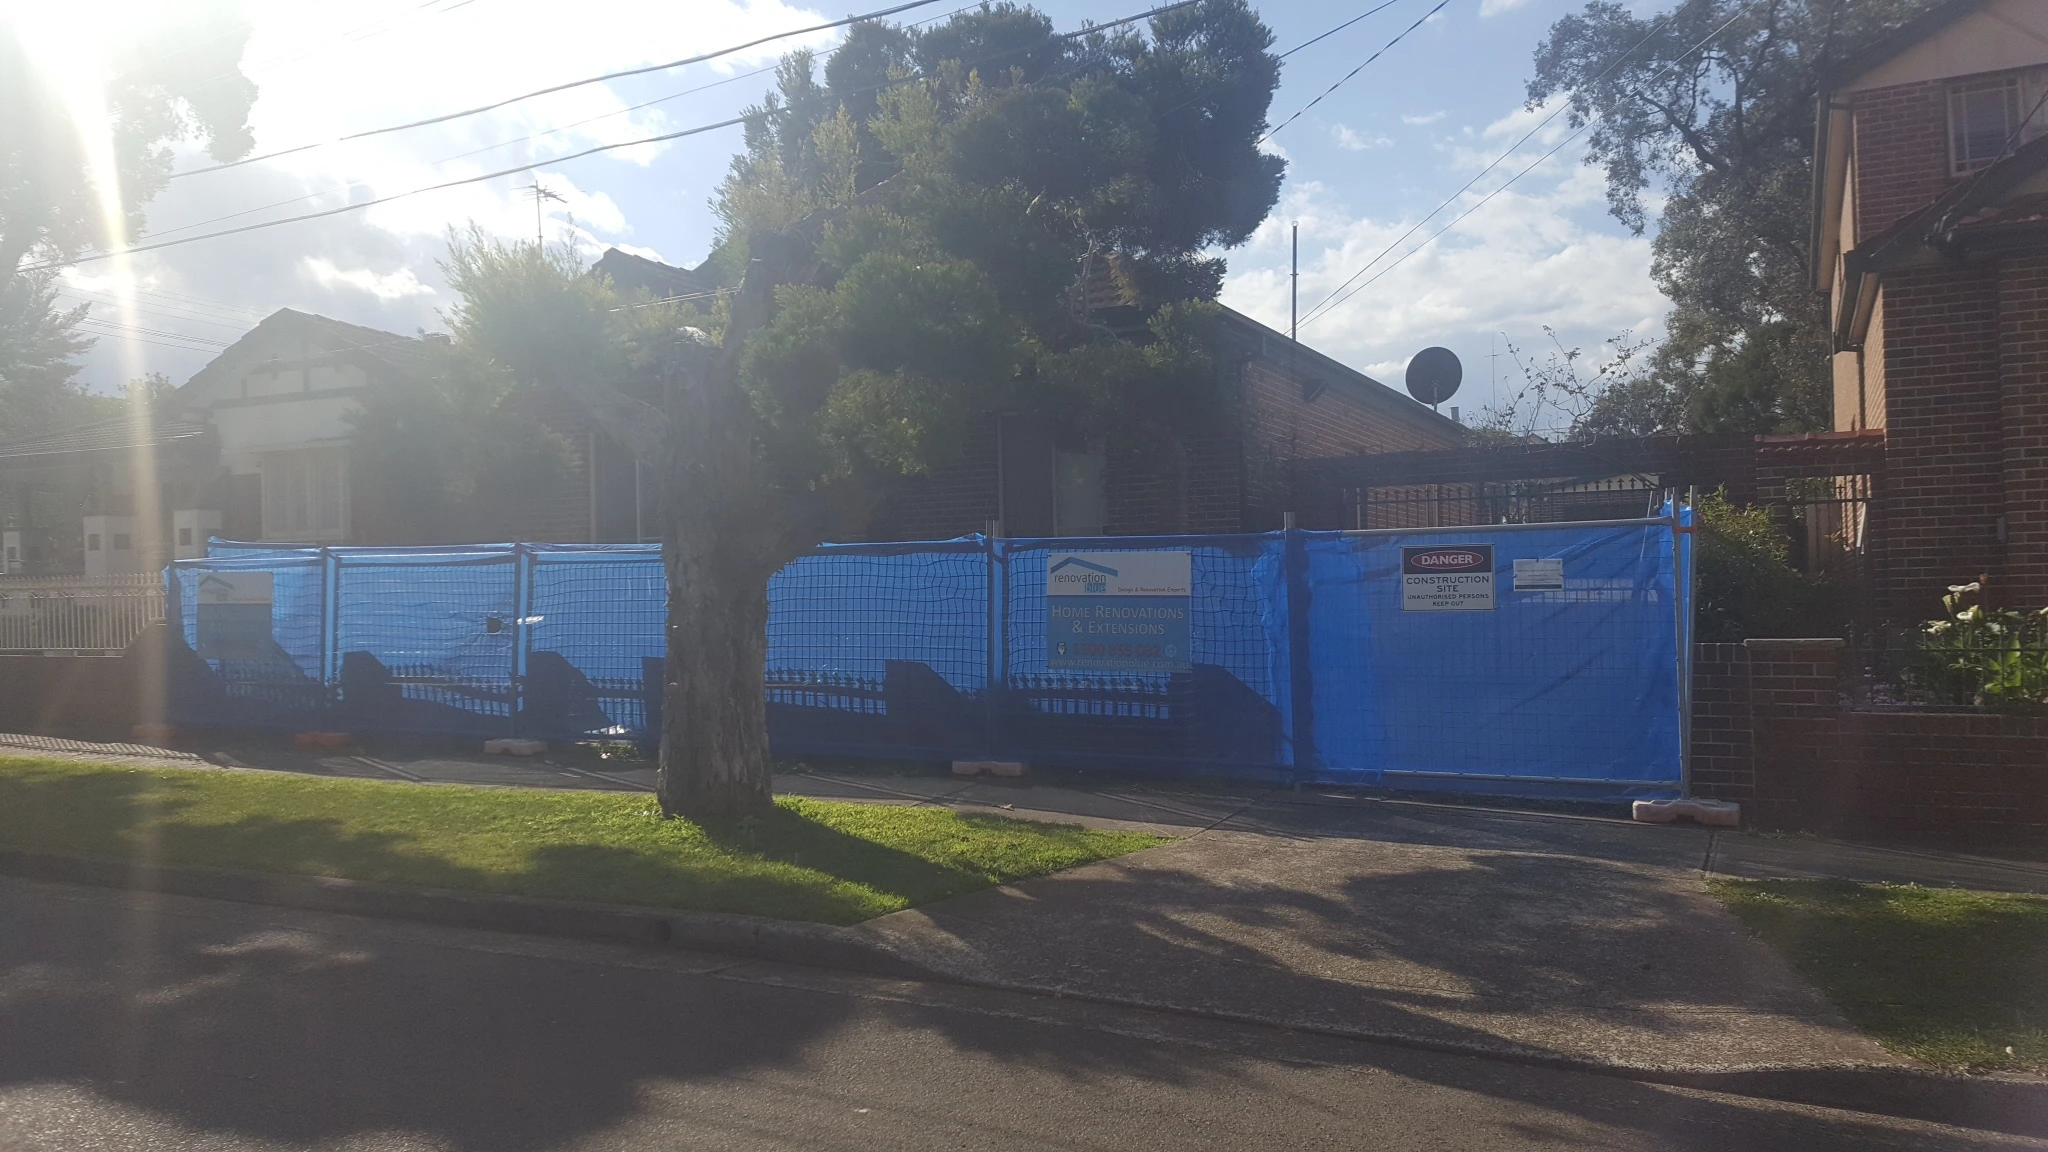
Site preparation
Temporary fencing set up at Ashbury.
-
Build stage 02
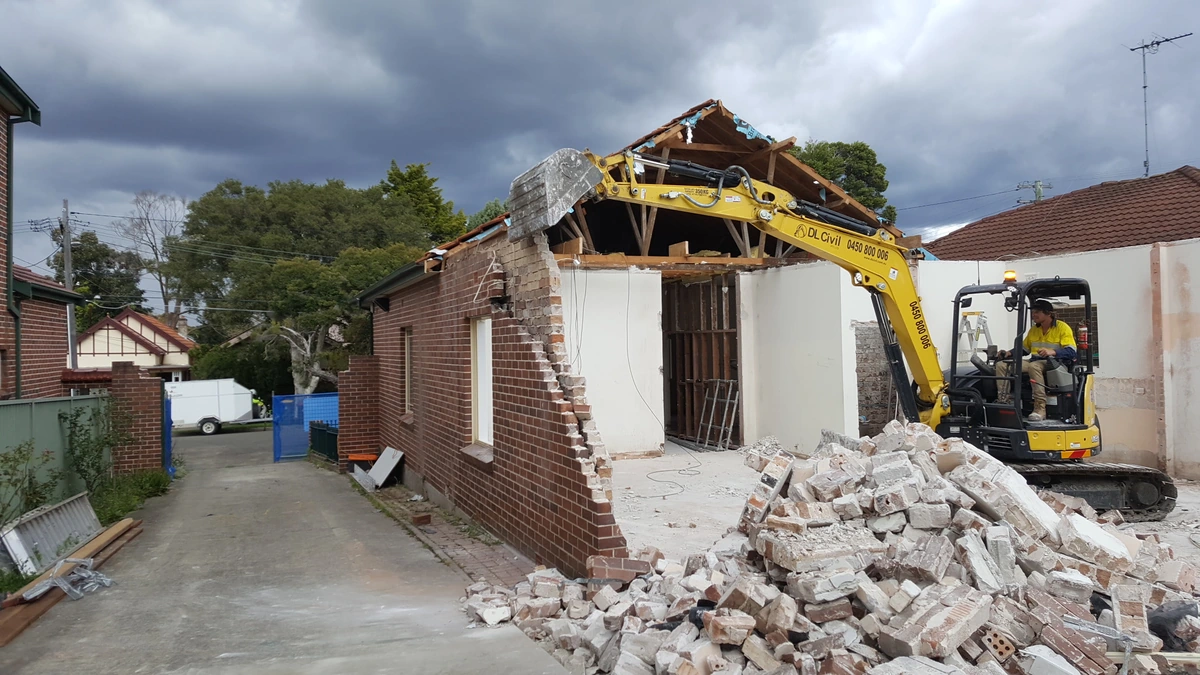
Demolition and preparing the existing home
We carefully remove the sections needed for the extension, protect the parts being retained and prepare the connection between the existing home and the new work.
-
Build stage 03
Slab preparation and concrete pour
Formwork and reinforcement are prepared before the concrete is poured and finished for the new slab.
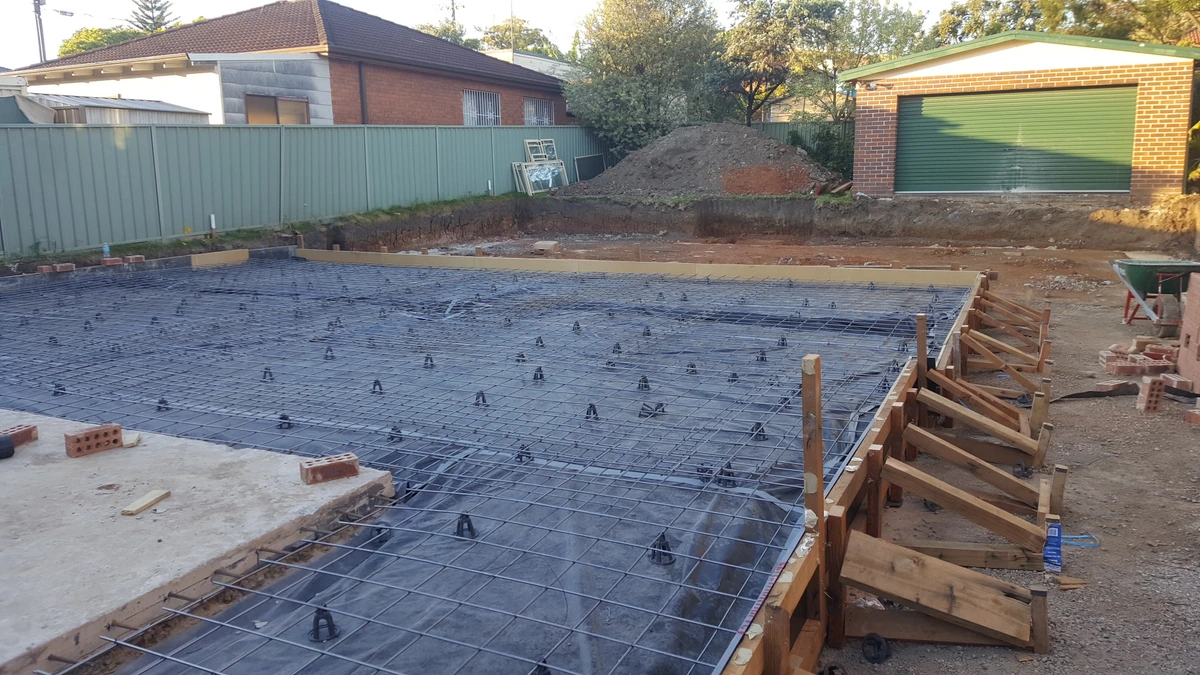
Formwork and reinforcement ready for the concrete pour. 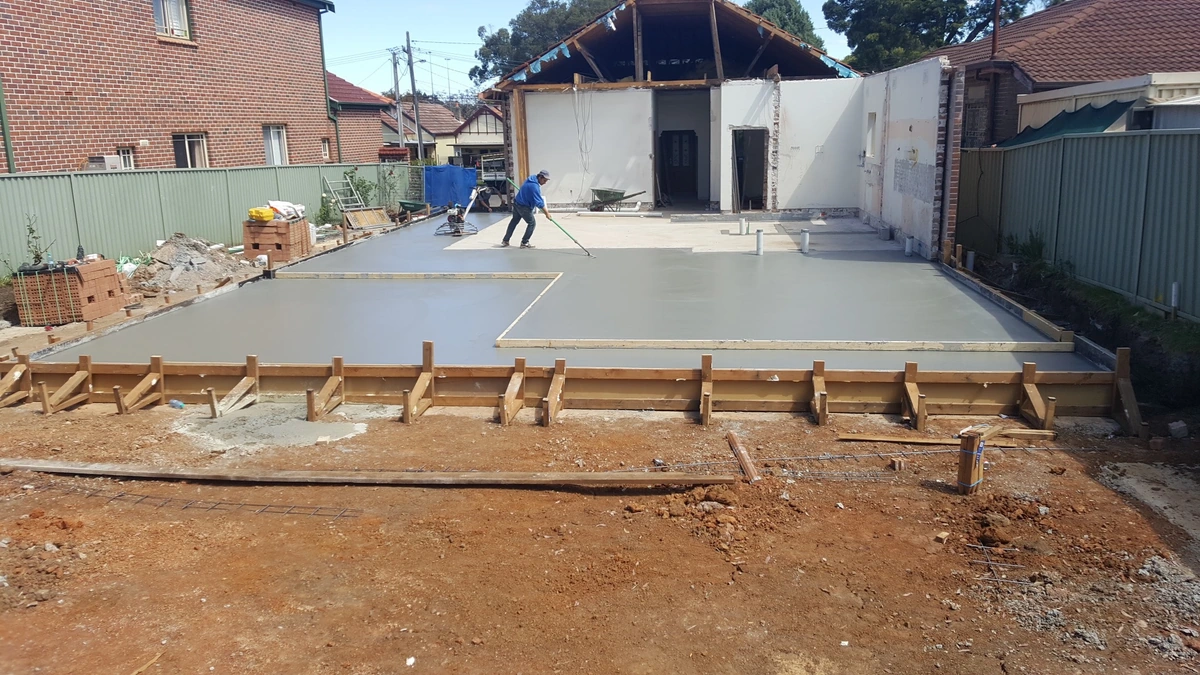
The concrete slab being poured and finished. -
Build stage 04
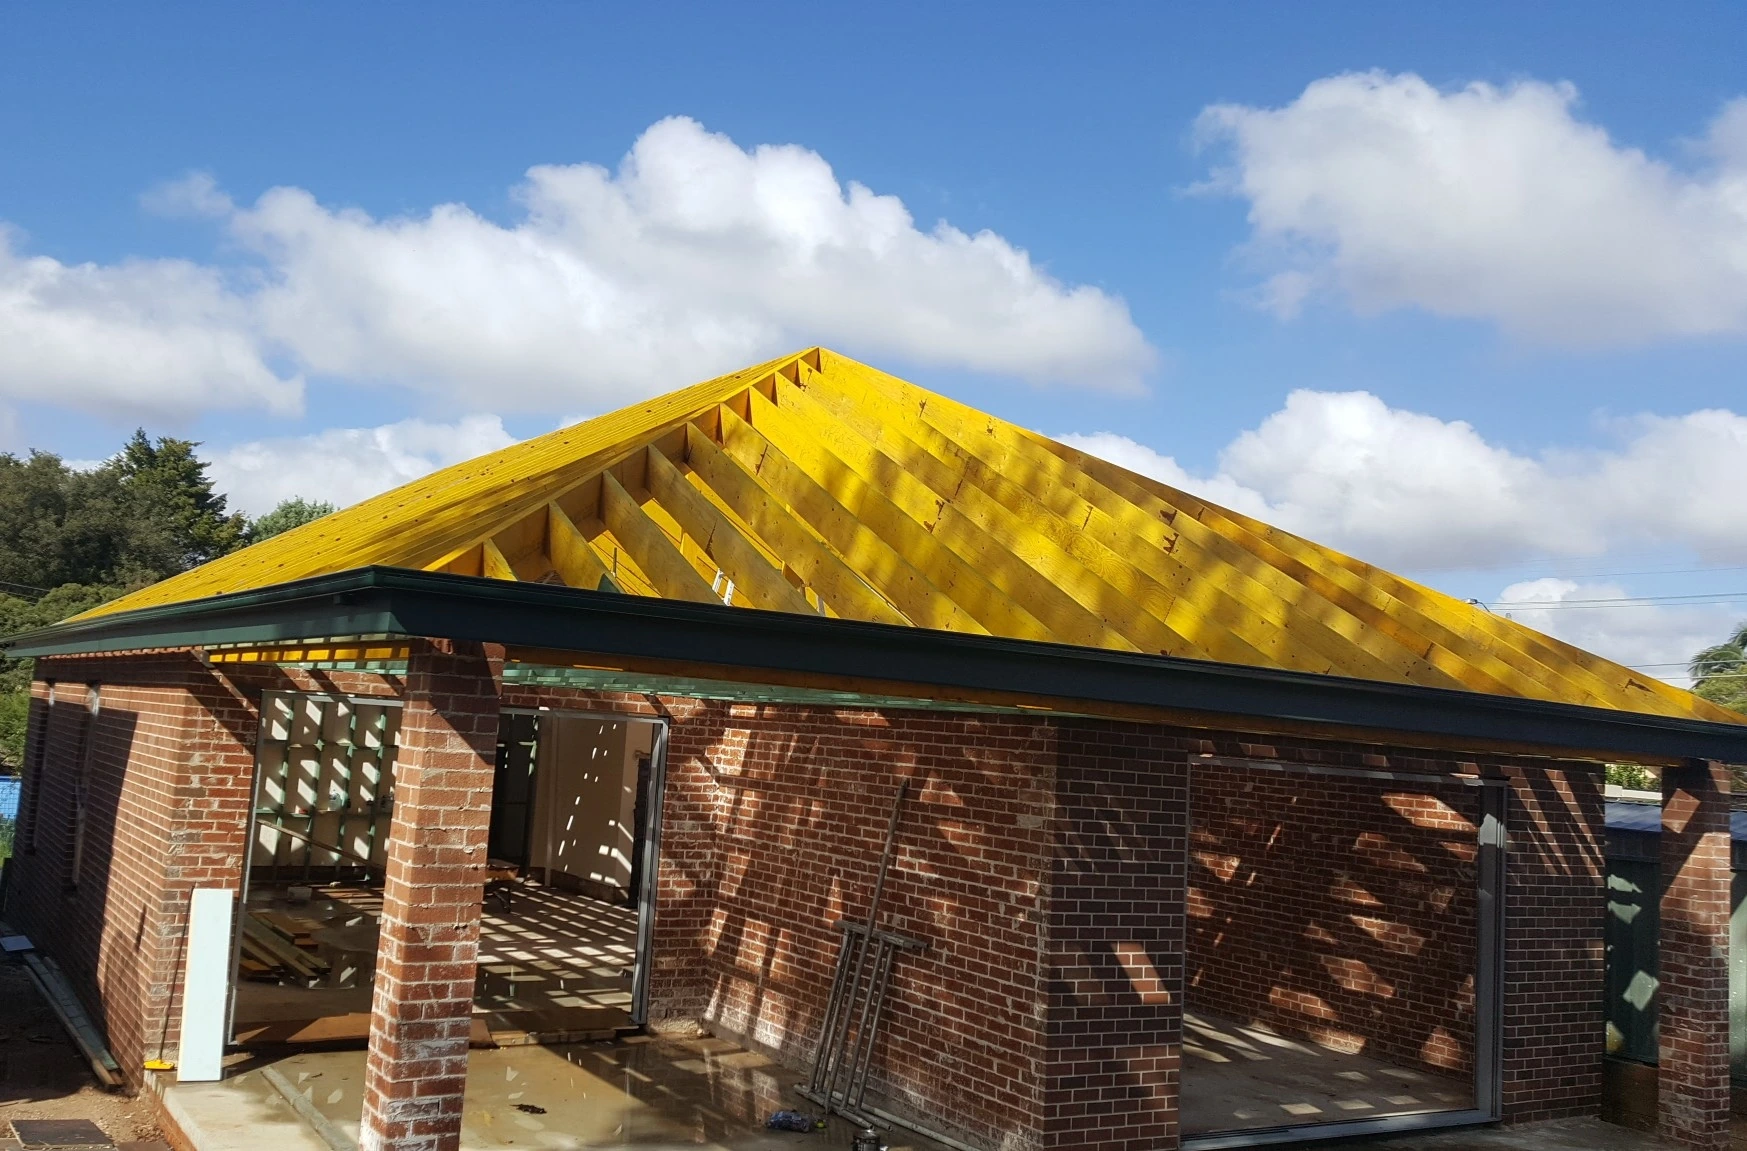
Walls and roof framing
Brick walls and timber roof framing taking shape.
-
Build stage 05
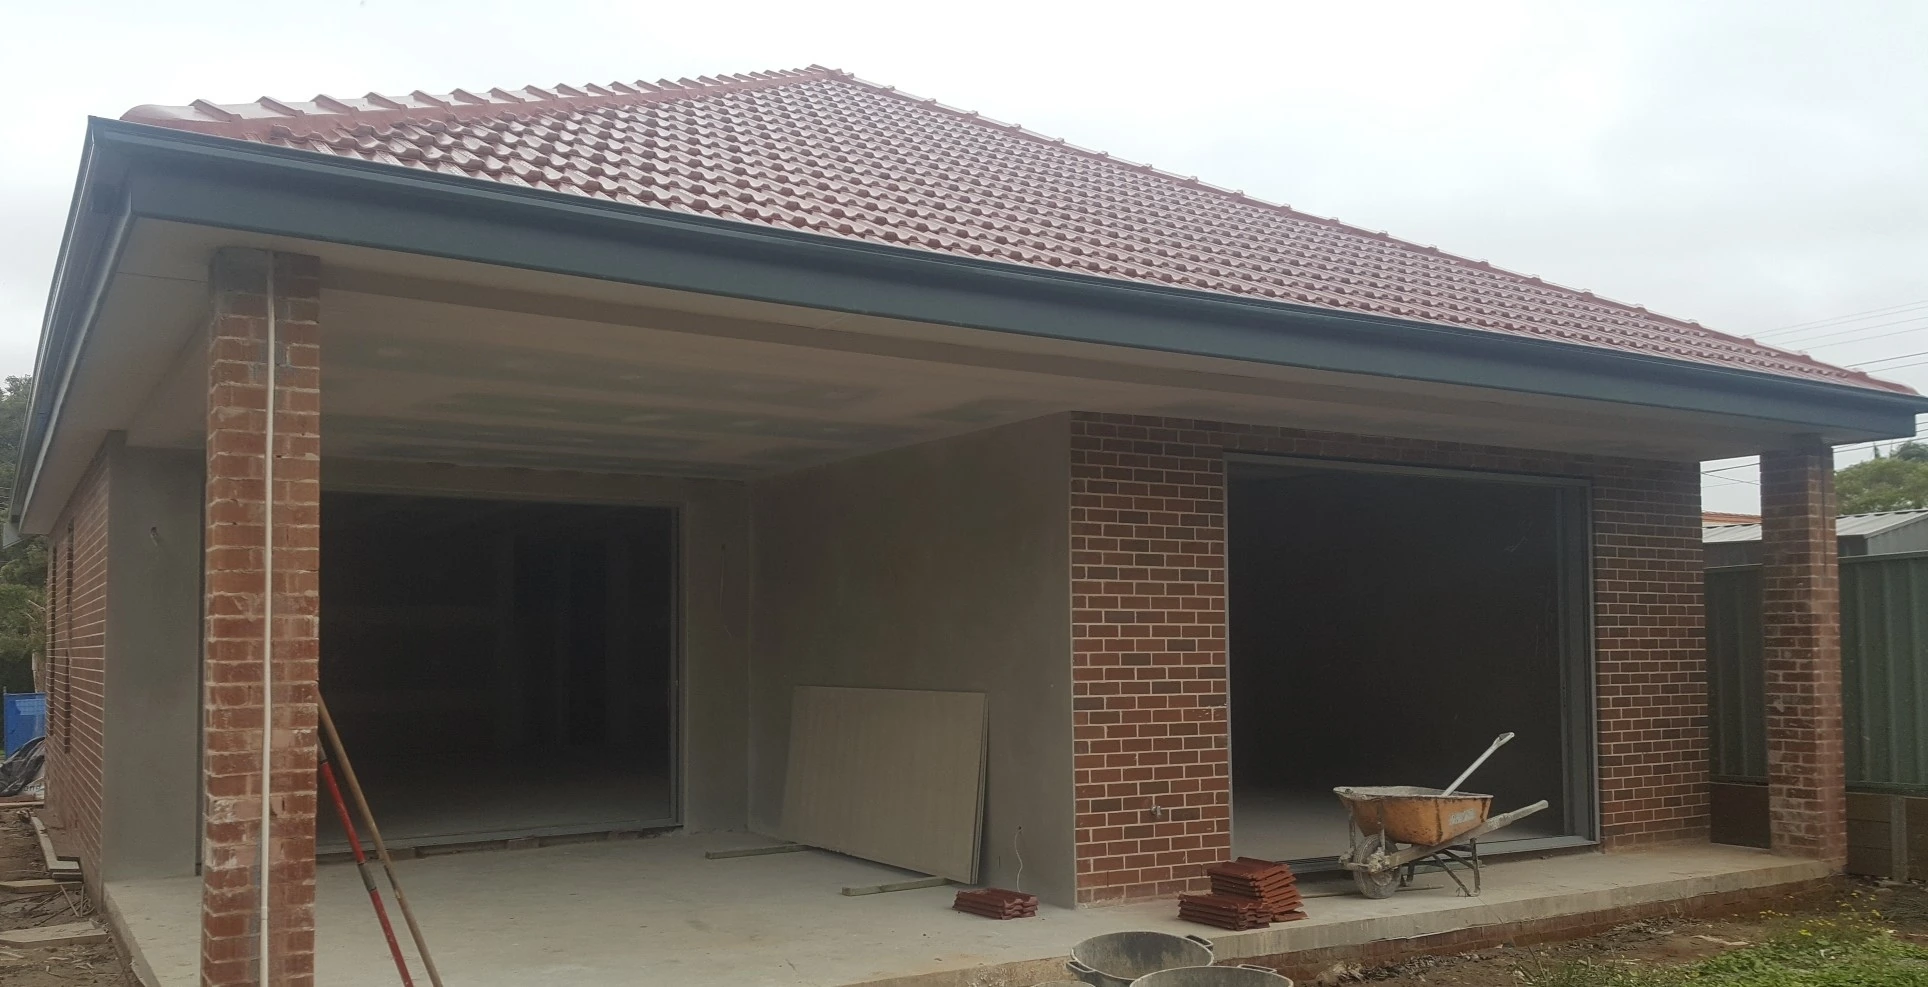
Roof coverings
The roof is on, with rear openings still unfinished.
-
Build stage 06
Lock-up and plastering
Windows and external doors close in the extension, while plastering prepares the internal walls and ceilings for finishing.
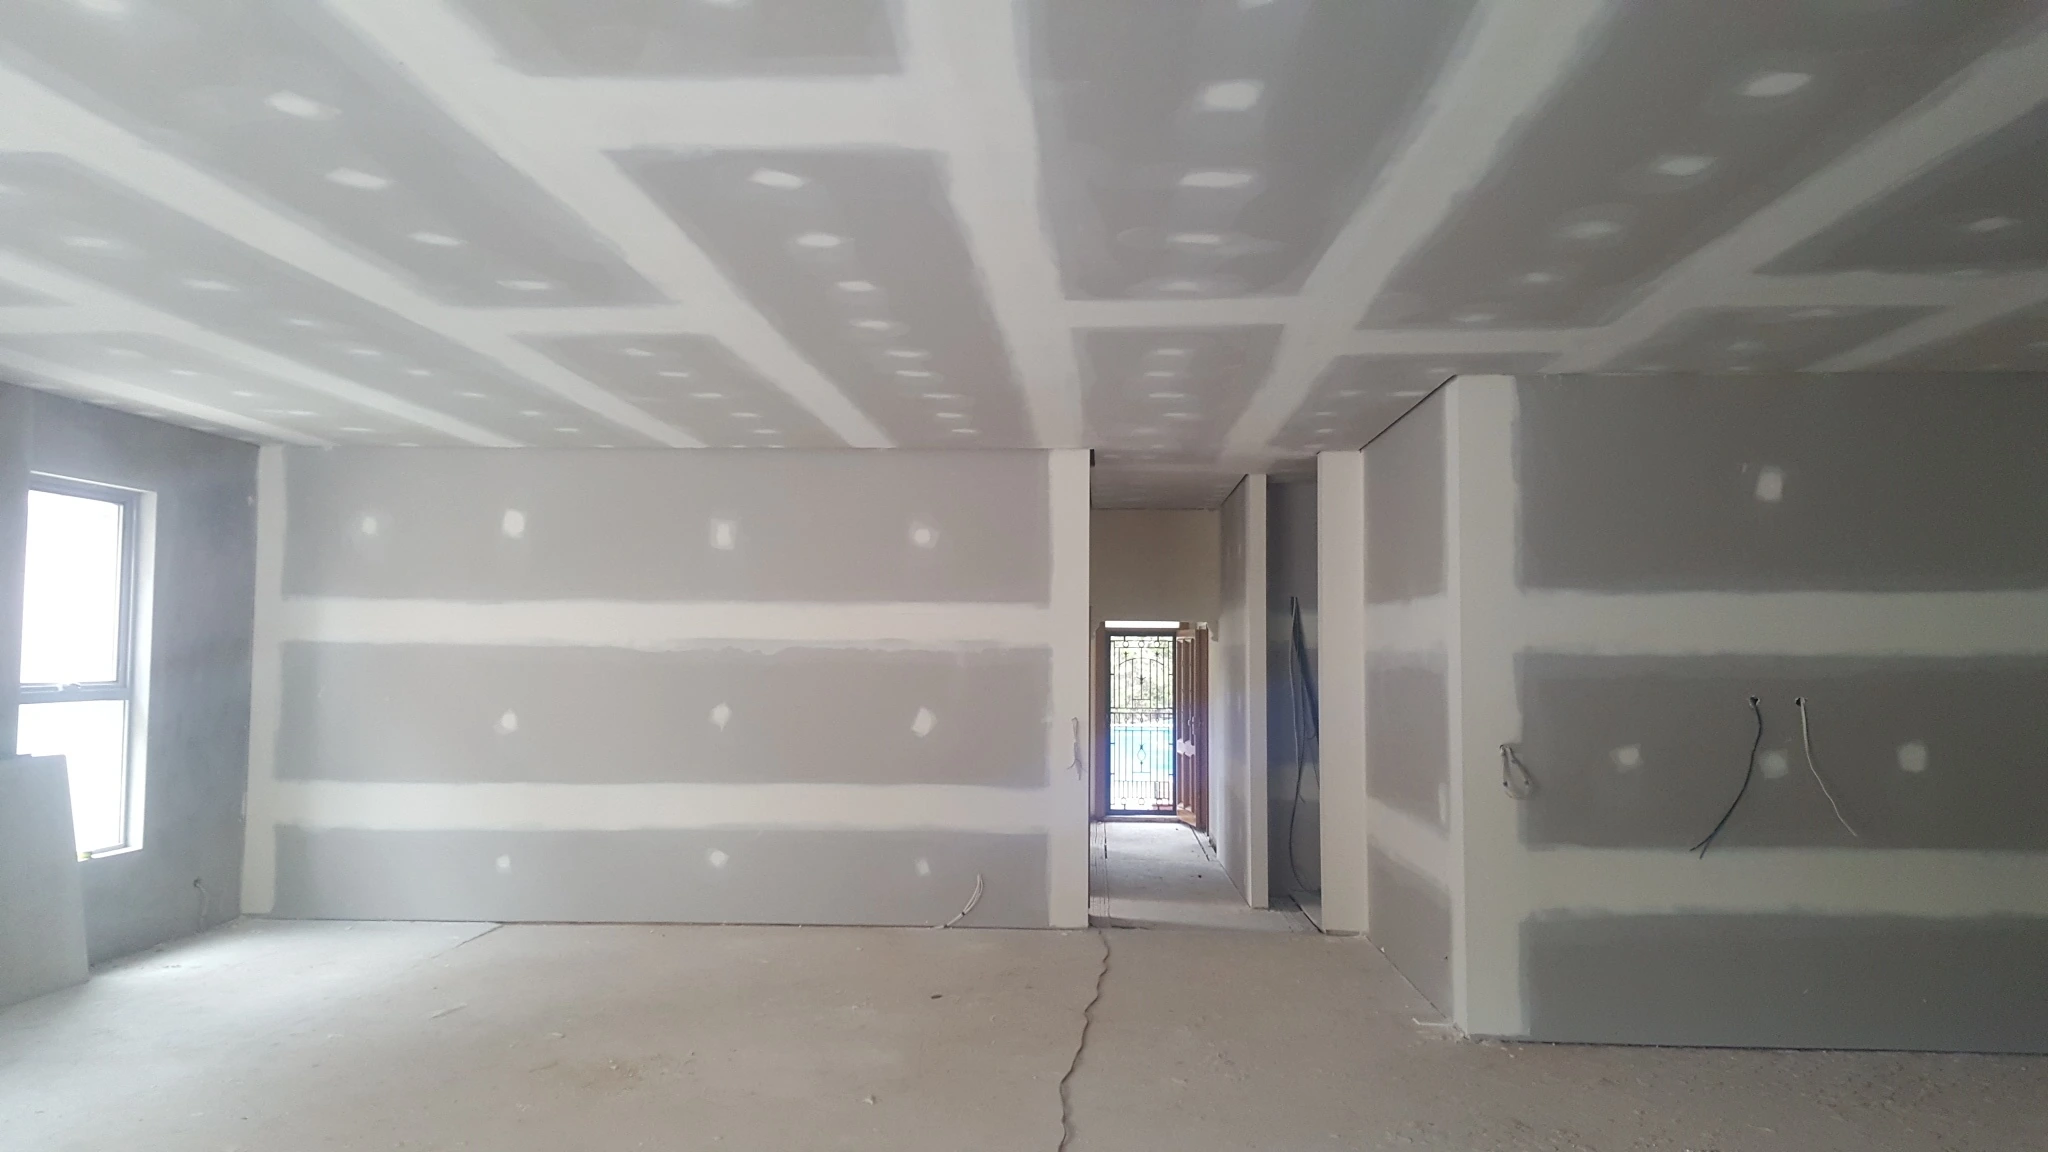
Internal walls and ceilings plastered at Ashbury, with finishing work still underway. -
Build stage 07
Fit-out and finishes
Wet-area waterproofing before tiling, followed by cabinetry, flooring, painting and final fixtures.
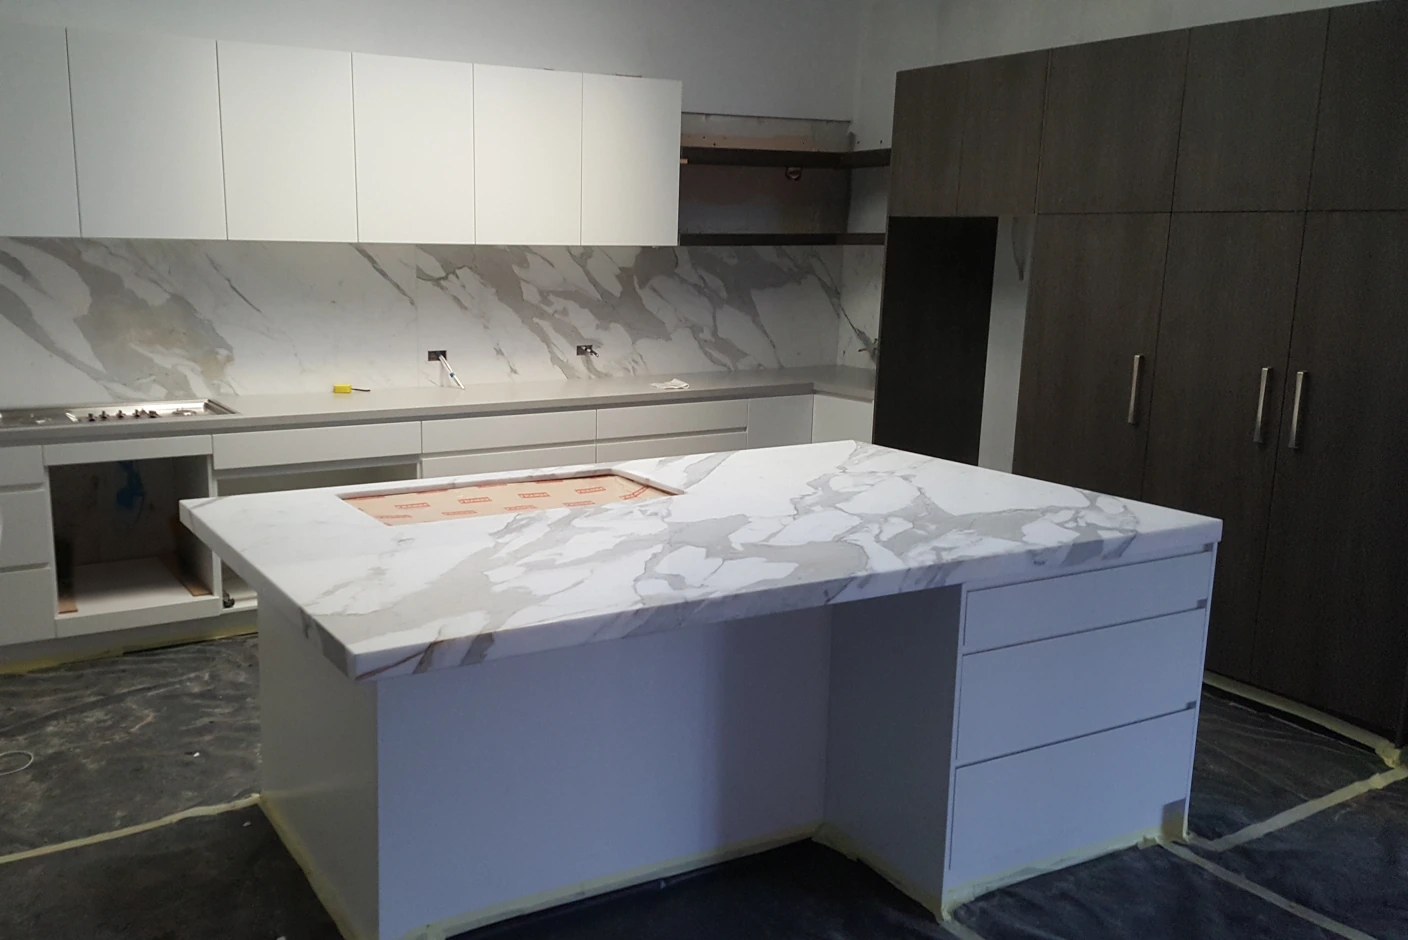
Cabinetry and benchtops installed, with fit-off still underway. -
Build stage 08
Walk-through and handover
We’ll walk through the finished work together, discuss any outstanding items and go through the completion documents that apply.
View the Ashbury project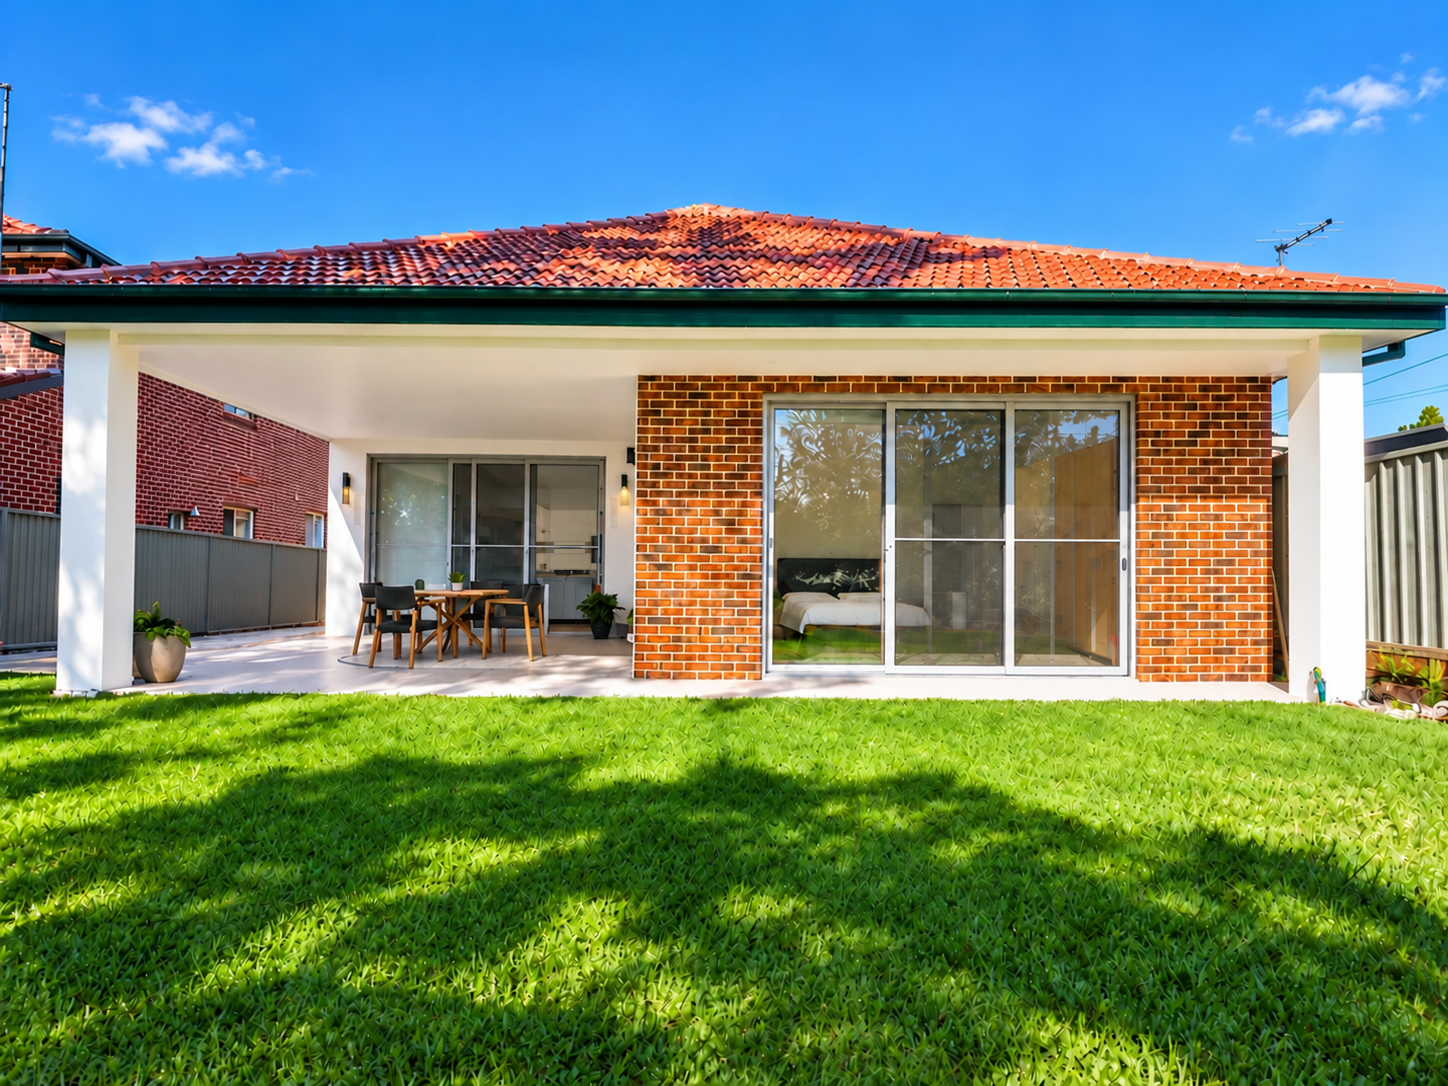
The completed Ashbury rear extension.
Discuss your project with Tony
Have plans already, or just an idea? Tell Tony what you’d like to change and where your home is.
Tell Tony about your project.